
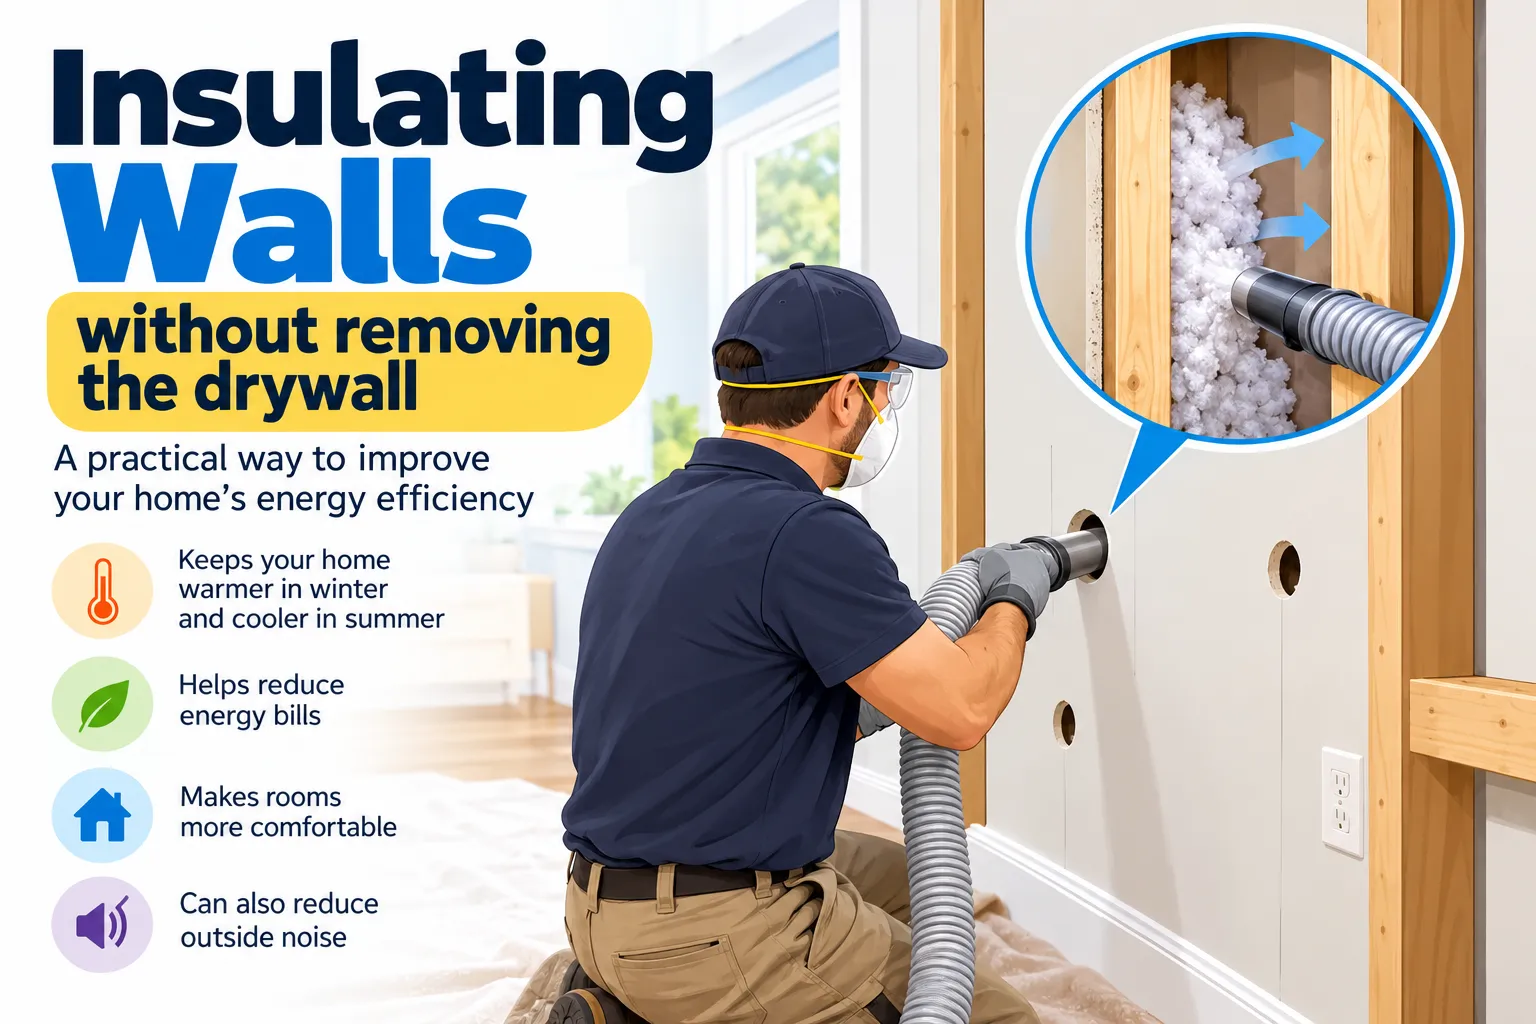
Can you insulate a wall without removing the plasterboard (drywall)? Often, yes. A fitter drills small holes between the studs or through the outer wall, blows or injects insulation into the hollow space, then patches the holes. Whether it is the right fix depends on what is inside the wall, and that comes down to how heat moves.
Why walls lose heat: the science in plain English
Heat always flows from a warmer place to a colder one. On a winter day your living room is warm and the air outside is cold, so heat leaks out through the walls, roof, windows and floor. Insulation does not make heat. It slows the leak so your heating has less to replace. If you want the bigger picture of where that heat energy comes from, see our guides to energy sources and their uses and the different kinds of energy.
Heat escapes through a wall in three ways, and a good insulation job tackles all three.
Conduction: heat passing through solids
In a solid, hot particles vibrate hard and pass that energy to their neighbours. Dense, solid materials such as brick, concrete and metal conduct heat well. Insulating materials such as mineral wool, foam boards and cellulose conduct heat badly because they are mostly tiny pockets of trapped air held apart by thin fibres or cell walls. Air itself is a poor conductor when it cannot move.
Convection: heat carried by moving air
Warm air rises and cooler air sinks, setting up currents. Inside an empty wall cavity, air can circulate: it warms against the inner leaf, rises, cools against the outer leaf and sinks again, carrying heat across the gap. Filling the cavity with insulation stops the air circulating. Leaks are a second kind of convection. Draughts through gaps carry warm air straight outside.
Radiation: heat as infrared
Every warm surface gives off infrared radiation. Across an empty cavity, the warmer inner surface radiates to the colder outer surface. Fibre and foam insulation breaks up that path as well. Shiny foil-faced boards can also reflect some radiation, but only where there is an air gap next to the foil.
U-values and R-values: how we measure insulation
Builders and regulators use two numbers. They are two views of the same idea.
| Quantity | What it measures | Unit | Better insulation means |
|---|---|---|---|
| Thermal conductivity (λ, "lambda") | How easily a material conducts heat | W/(m·K) | A lower number |
| Thermal resistance (R) | How strongly a layer resists heat flow | m²·K/W | A higher number |
| Thermal transmittance (U) | How fast heat flows through the whole wall | W/(m²·K) | A lower number |
For one layer of insulation, resistance is its thickness divided by its conductivity. For a whole wall, you add the resistances of every layer (plasterboard, studs or masonry, insulation, outer leaf and the thin air films on each surface) and then take the reciprocal.
R = d ÷ λ U = 1 ÷ (R₁ + R₂ + R₃ + …)
Here is a made-up example, not a real product. Suppose all the layers of an old wall add up to a total resistance of 1.43 m²·K/W. Its U-value is 1 ÷ 1.43 ≈ 0.70 W/(m²·K). Add a layer of insulation with R = 2.5 m²·K/W and the total becomes 3.93, so the U-value drops to 1 ÷ 3.93 ≈ 0.25 W/(m²·K). A lower U-value means a slower leak.
Thermal bridging: the shortcuts around insulation
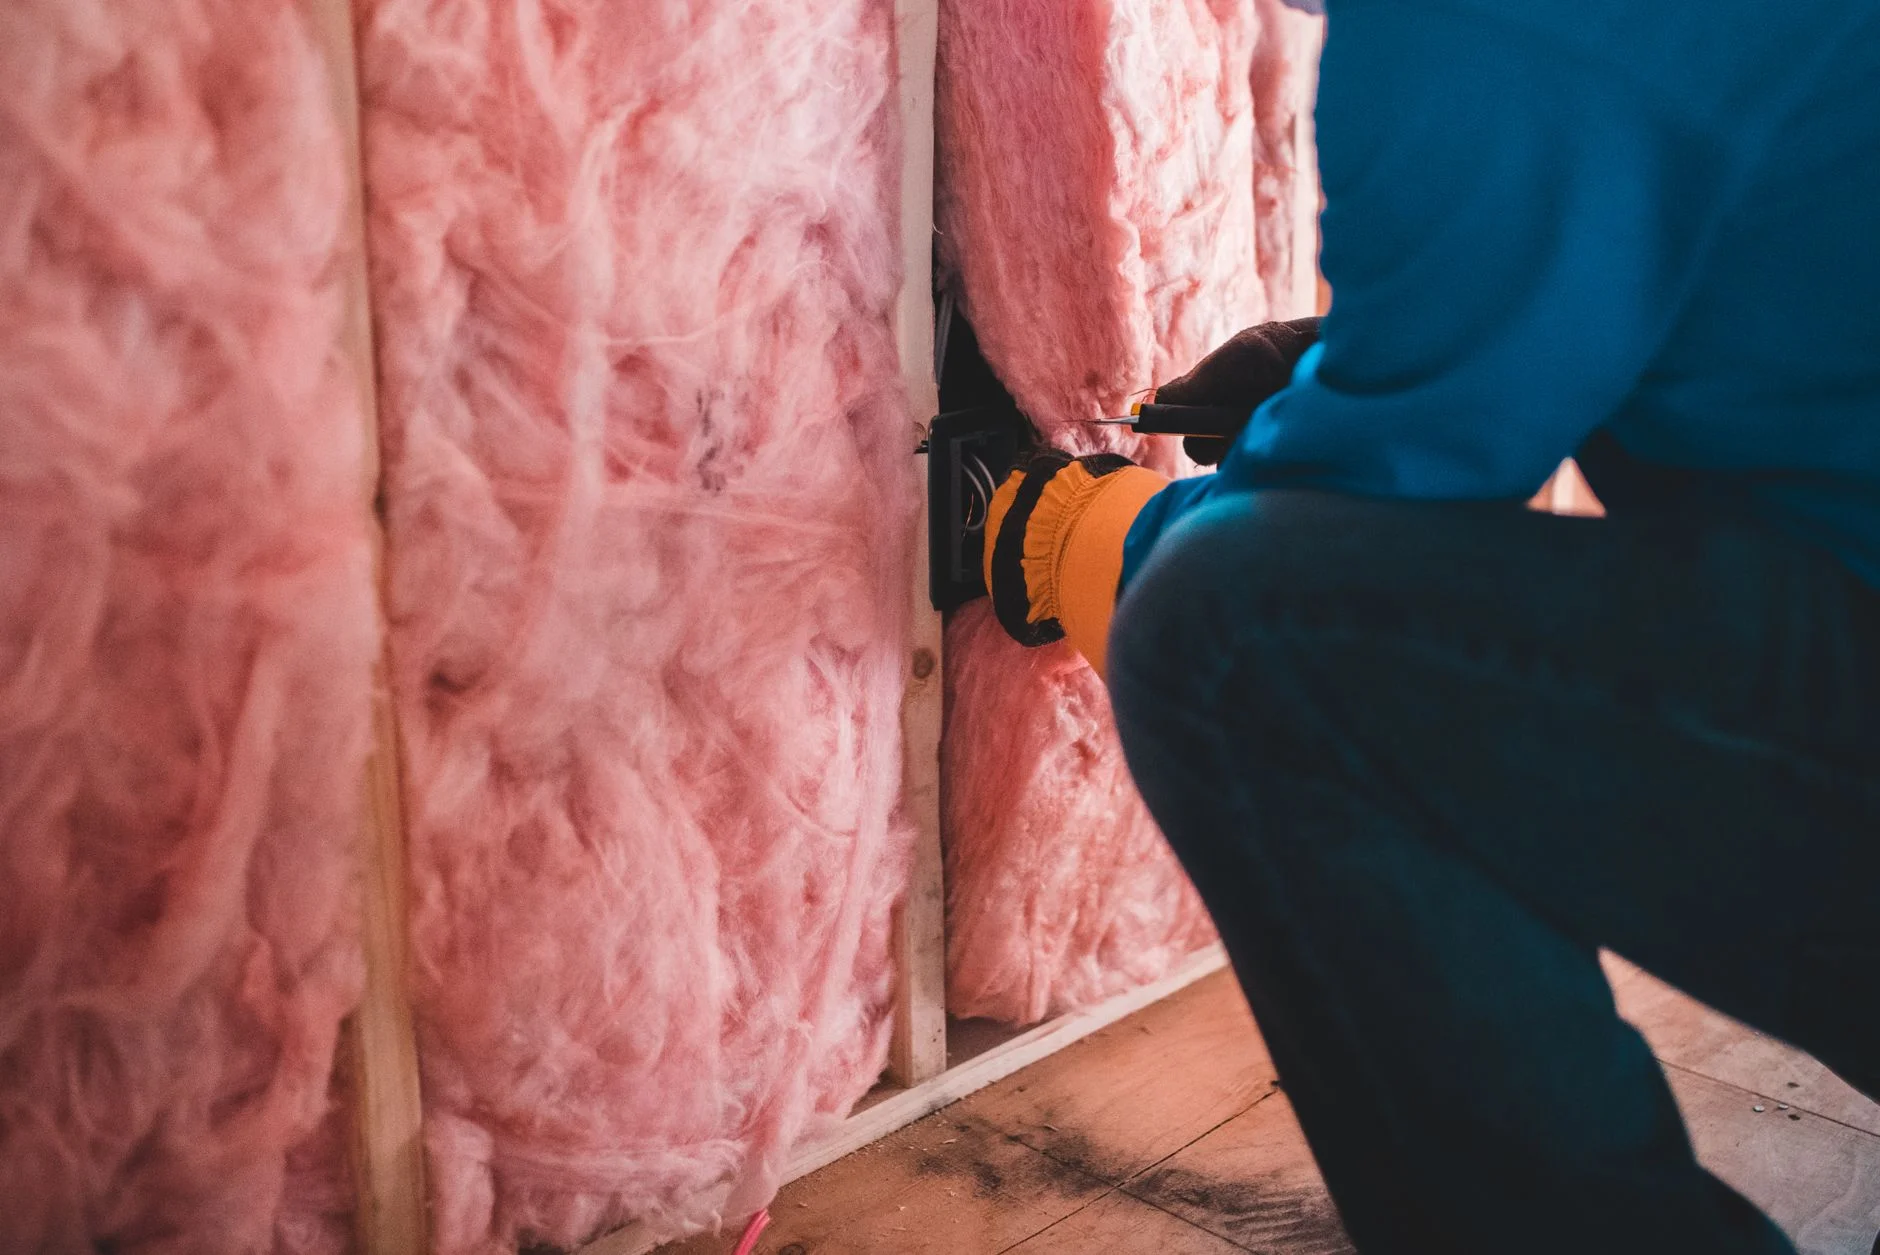
A wall is not one uniform layer. In a stud wall, the timber studs, fixings and the plates at the top and bottom conduct heat better than the insulation sitting between them. Heat takes these thermal bridges as shortcuts. Approved Document L describes a thermal bridge as an area of a building with significantly higher heat transfer than the surrounding parts, caused by breaks in insulation, reduced insulation or more conductive materials.
This matters for the drill-and-fill method. Fill the bays between the studs and you reduce convection and conduction in the cavity, but the studs themselves are still bridges. Gaps and voids in the filling work like extra bridges. Approved Document L warns that gaps in insulation can have a significant impact on heat loss and can create a risk of condensation and mould, and asks for insulation to be reasonably continuous. The same principle applies when you insulate an existing wall. That is why the steps later in this guide stress filling every bay evenly.
Try it: how much heat does a wall lose?
The rate of heat flow through a wall is found by multiplying the U-value, the area of the wall and the temperature difference between inside and outside. The three U-values in the calculator are the limiting figures from Approved Document L for existing walls, which we explain in the next section.
Heat loss (W) = U × A × ΔT
Flip the cards: test your heat vocabulary
What the UK Building Regulations say (Part L)
In England, Part L of the Building Regulations covers the conservation of fuel and power. Its guidance for homes is Approved Document L, Volume 1: Dwellings. GOV.UK lists the 2021 edition incorporating 2023 amendments, which came into force on 15 June 2022 (amendments added on 2 February 2023). GOV.UK also lists a 2026 edition of Approved Document L. It takes effect on 24 March 2027 for most building work in England, so until then the 2021 edition (incorporating 2023 amendments) used in this guide is the current guidance. The 2026 edition renumbers the table but keeps the same wall values and renovation rules. Check which edition applies to your project with your local authority building control or an approved inspector before you start. Wales, Scotland and Northern Ireland have their own regulations.
The key table for this topic is Table 4.3, "Limiting U-values for existing elements in existing dwellings". For walls it gives two columns: a threshold and an improved value.
| Existing wall type | Threshold U-value | Improved U-value (target) |
|---|---|---|
| Wall with cavity insulation (only where the wall is suitable for it) | 0.70 W/(m²·K) | 0.55 W/(m²·K) |
| Wall with internal or external insulation | 0.70 W/(m²·K) | 0.30 W/(m²·K) |
The document counts several jobs as "renovating a thermal element", including dry-lining the inside surface of a wall and providing cavity wall insulation. If you renovate a wall and more than 50% of that element's surface is renovated, the whole element should be improved to at least the "improved" U-value. The same applies if the work is a "major renovation", meaning more than 25% of the surface area of the building's external envelope is renovated.
An old solid wall has a U-value of 1.5 W/(m²·K). Is that above or below the 0.70 threshold in Table 4.3, and what does that suggest if the wall is being renovated? (2 marks)
Above the threshold (1.5 is greater than 0.70, so heat flows faster than the limit). If the renovation is large enough to trigger the rule, the wall should be improved to the table's target, 0.30 W/(m²·K) for internal or external insulation.
Part L is not the only rule. The guidance says that when renovating thermal elements you should comply with all requirements in Schedule 1 of the regulations, but "particular attention" should be paid to Parts B (fire), C (moisture), F (ventilation) and J (combustion appliances). Less heat lost means less fuel burned, so insulation also helps with the greenhouse gases that drive climate change.
Your options for insulating an existing wall
There is no single best method. The right choice depends on the wall type, the damp risk and how much room you can spare.
| Option | How it works | Plasterboard removed? | Main trade-off |
|---|---|---|---|
| Drill and fill (blown cellulose or mineral/glass fibre) | Loose fibres blown through small holes into the cavity or between studs | No, only small holes patched | Needs a hollow, dry space; you cannot see voids, so fitter skill matters |
| Injected foam | Liquid foam expands in the cavity and fills gaps | No, only small holes patched | Expands to fill awkward gaps, but needs a trained installer and a suitable wall |
| Insulated plasterboard (thermal laminate) | Plasterboard bonded to a foam or similar backing, fixed to the inside of the wall | Existing wall surface covered, finish renewed | Loses a little room space; skirting, sockets and radiators need moving |
| New stud wall with insulation between studs | A timber frame built against the wall, insulation between studs, plasterboard over it | Plasterboard renewed | Loses more room space; needs care with moisture |
| External wall insulation | Boards fixed to the outside and finished with render or cladding | Not touched | Changes the look of the building; usually needs planning checks and scaffolding |
Dry-lining with insulation between studs fixed to the wall, and insulated wall board fixed to the inside surface, are both named in Approved Document L's examples (Appendix C) for solid walls, each with a target of 0.30 W/(m²·K). The same table says to assess the impact on internal floor area, and in general to accept a reduction not exceeding 5% of a room's area.
Which materials go inside the wall?
The guide uses cards for four methods. Three are fill materials, one is an exterior option.
- Blown cellulose. Recycled paper fibre, blown loose into the cavity through small holes.
- Blown mineral or glass fibre. The card calls this "fiberglass", the American spelling. In the UK we say glass wool or glass fibre. Loose fibres are blown in through small access holes.
- Injected foam. A liquid foam that expands inside the cavity.
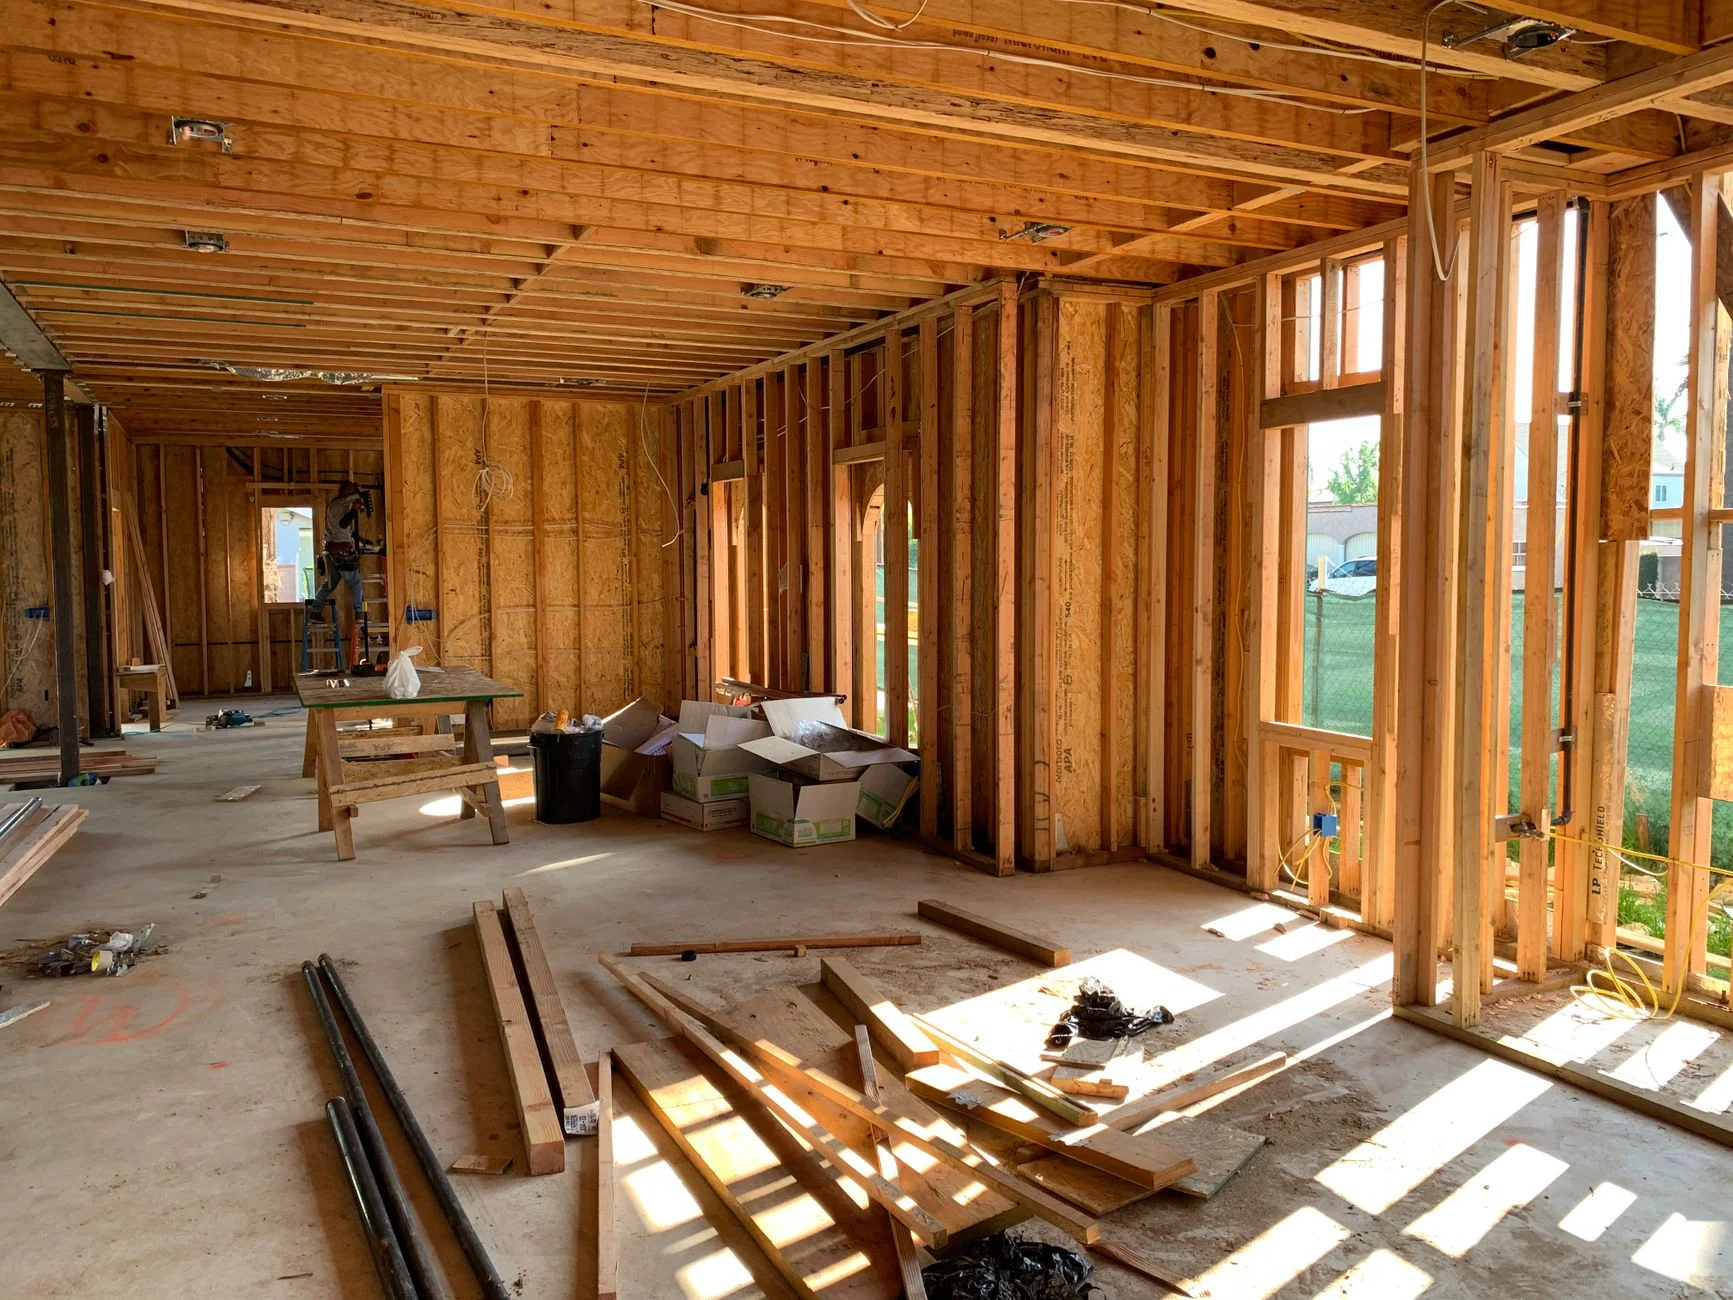
- External insulation. Boards added from the outside during an exterior renovation, as shown in the photo below.
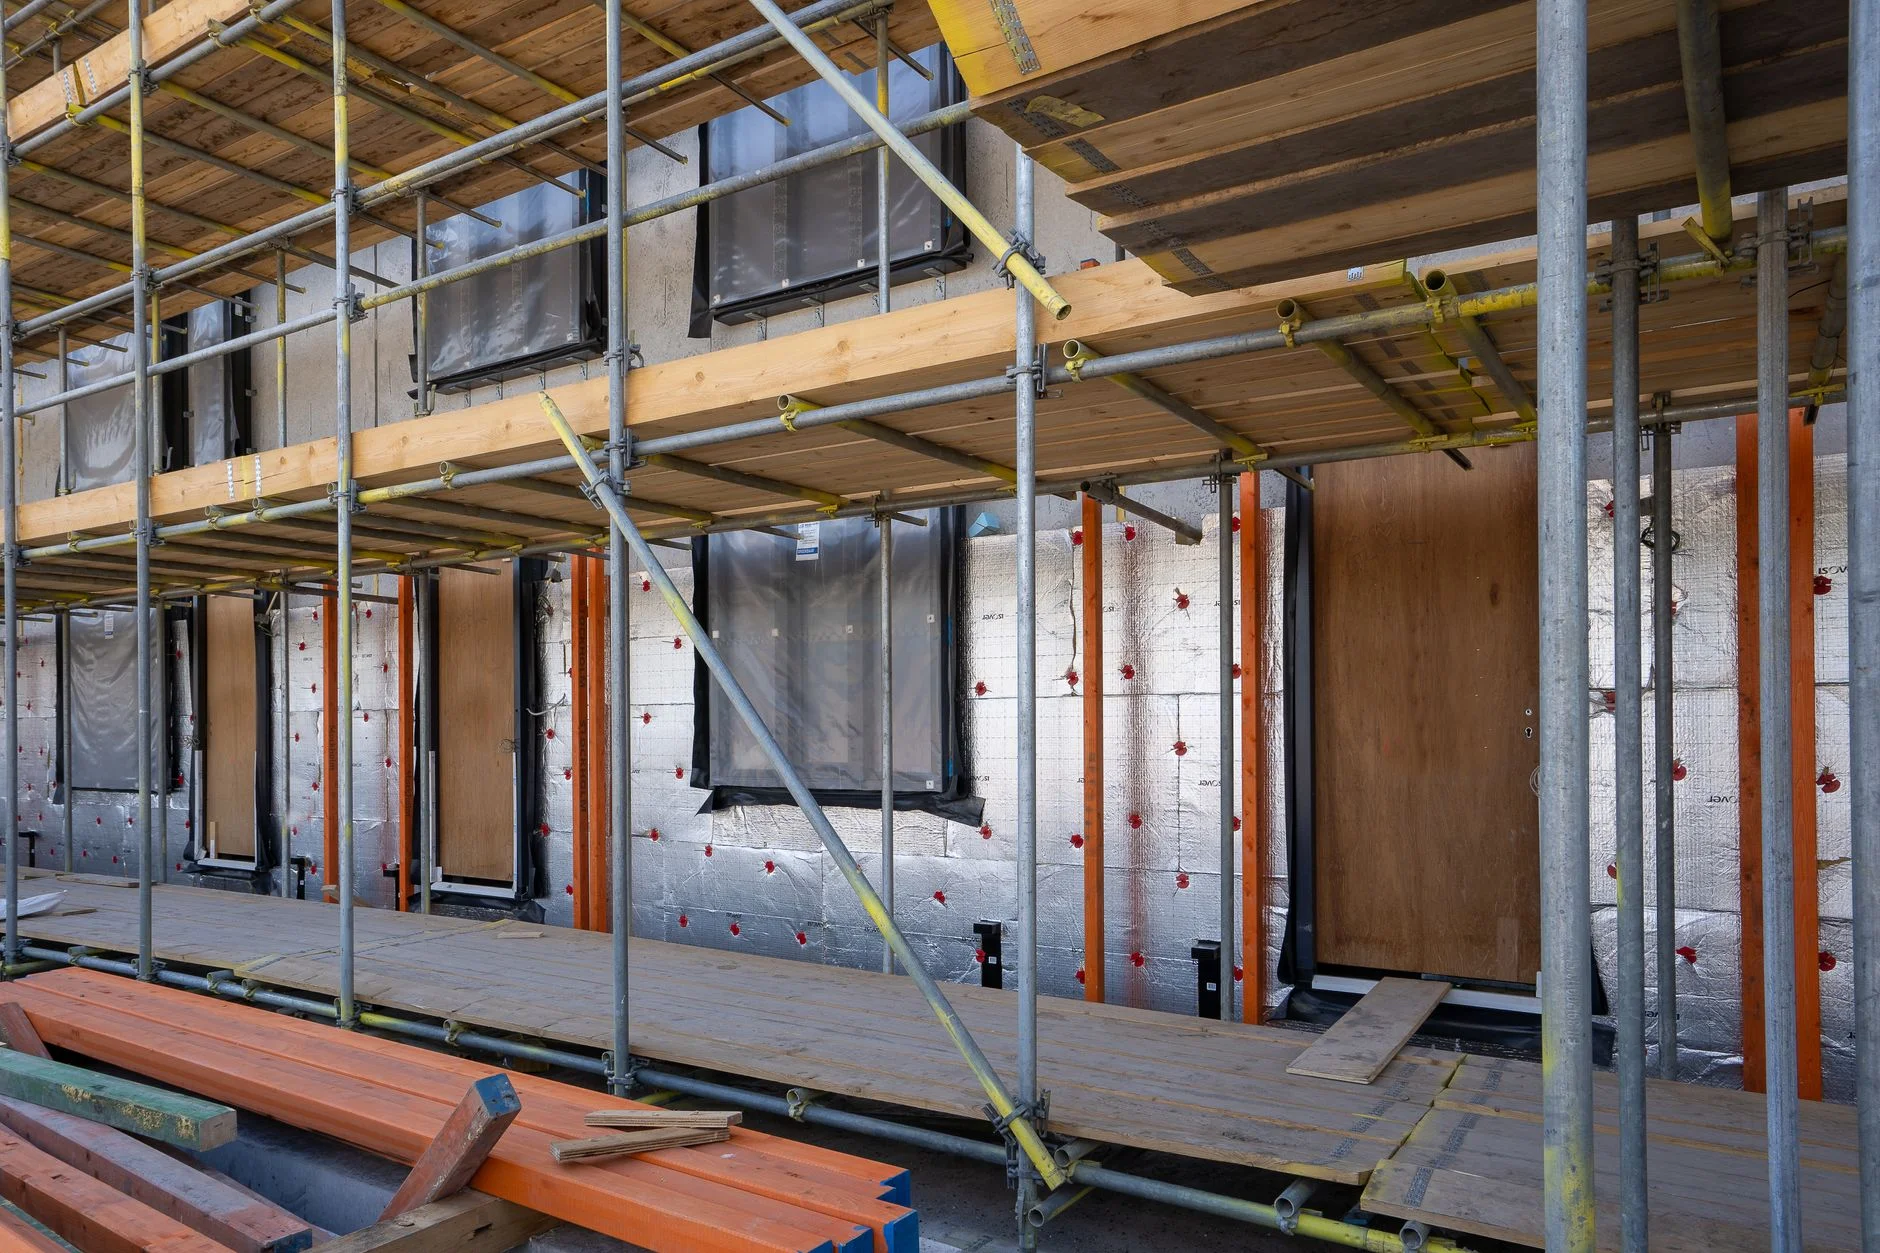
The next section walks through the drill-and-fill method one step at a time, matching the illustrated guide cards. The pictures show the inside-access version, where holes are drilled in the plasterboard between the studs. In UK masonry houses with a cavity, a similar fill is normally done from the outside, through holes drilled in the outer wall. Always follow the product maker's instructions, because each system has its own rules.
Step-by-step: insulating a wall without removing the plasterboard
This overview follows the illustrated cards. It is a guide to understanding the job, not a substitute for a trained installer, the product's instructions or your building control officer. Every wall is different.
Step 1: Check the wall is suitable and the rules are met
Before touching a drill, find out what your wall is made of. A hollow wall, whether a masonry cavity or a stud frame, can take a loose fill. A solid wall cannot. Look at the age and type of the house, any earlier insulation records, and any damp problems. Then check the regulations: renovating a wall can trigger the U-value targets in Approved Document L. Ask your local authority building control, or use a reputable installer who will handle the sign-off.
Step 2: Inspect the existing wall

The aim is to find out what is behind the plasterboard. A stud finder locates the timber. A cable and pipe detector, and a look at where sockets and switches sit, show where electric wiring and pipes run. Check for signs of moisture or mould: damp patches, staining, a musty smell. Insulating a wall that is already wet traps the water, so fix the cause first. Check whether the cavity already contains insulation. If you need to look inside, a small inspection hole and an inspection camera (borescope) let you see without opening the wall.
Step 3: Choose the insulation method

Match the method to the wall: blown cellulose, blown glass or mineral fibre, injected foam, or external boards if you are renovating the outside anyway. Cellulose and fibre fills are loose, so they flow around obstacles. Foam expands, so the installer must control how much goes in. For unusual or older walls, a surveyor or installer's recommendation matters more than a general rule.
Step 4: Mark the stud bays

The cavity between two studs is called a bay. Each bay is a separate hollow, because the studs divide the wall into compartments. Mark each stud on the wall, then mark the centre of each bay with a pencil. Note any obstacles such as wiring, plumbing, fire-blocking or horizontal timbers, because one stud bay may need more than one access hole. A quick sketch of the wall with the bays and hole positions helps you remember what you have filled.
Step 5: Drill small access holes

Open only what is necessary. Use a hole saw of the size the insulation system calls for, fitted to a drill. Cover furniture and flooring first, because plasterboard dust spreads everywhere. Wear eye protection and a dust mask. Do not cut near wires or pipes. If your detector shows a cable, move the hole.
Step 6: Fill the wall cavities

The installer inserts the hose or nozzle through the hole and fills the bay evenly, and checking there are no empty spaces. Voids matter physically: each empty pocket allows convection and creates a patch with lower resistance, a mini thermal bridge. A good installer also fills above and below any obstacles. When the cavity is full, the hole is sealed.
Step 7: Seal and repair the wall

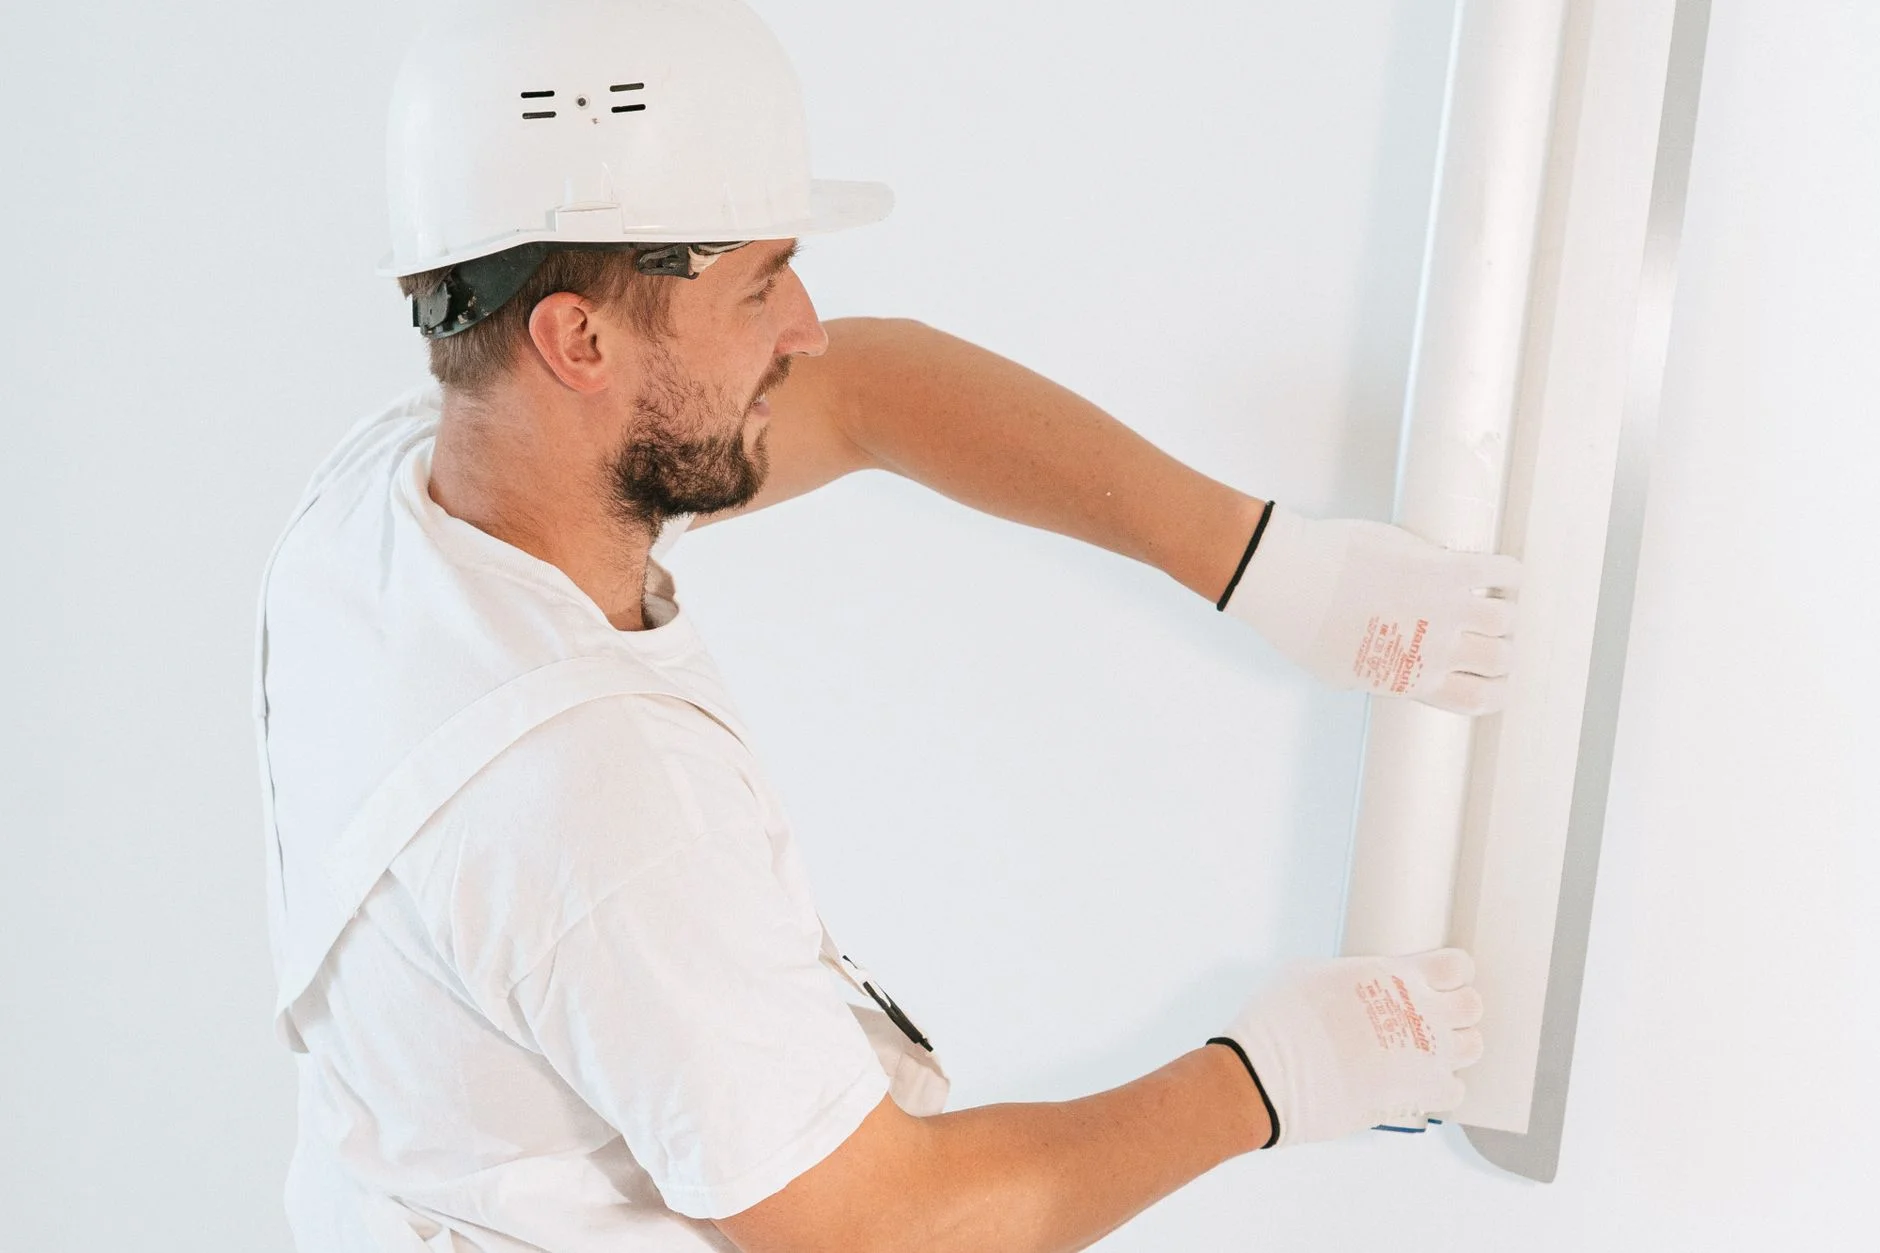
Close each hole with a plasterboard patch or plug, apply jointing compound and smooth it, sand once dry and repaint. Done well, the repairs are almost invisible. Allow each coat to dry fully before sanding.
Step 8: Final check
The next section covers the final checks, including thermal imaging, draughts and moisture. First, here is a checklist you can tick off as you plan the job. The ticks are saved in your own browser.
- Wall type identified (cavity, stud, or solid)
- Asbestos risk considered for older buildings
- Damp, mould or leaks fixed before insulating
- Studs, wires and pipes located and marked
- Building control or installer contacted about Part L
- Furniture and flooring protected
- Eye protection and dust mask ready
- Every bay filled and every hole sealed
Ventilation and combustion appliances: do not skip this
Insulating makes a home less leaky, and a more airtight home needs fresh air to remove moisture and keep indoor air healthy. Never block air bricks, trickle vents or the vents a gas appliance needs to work safely. A badly ventilated fuel-burning appliance can produce carbon monoxide, a poisonous gas you cannot see or smell. This is one reason Approved Document L tells you to pay attention to Parts F (ventilation) and J (combustion appliances) when renovating walls.
Who does what?
Many people can do the planning steps (steps 1, 2 and 4) themselves. The drilling and filling steps rely on specialist machines and skill, because filling every bay evenly without damaging cables is hard to judge from outside. That is the main reason this job is usually left to a trained installer, especially for cavity walls and foam.
Step 8 in detail: the final check

After the work, ask whether the wall is actually better insulated. The final-check card suggests six things: check that every accessible cavity was filled, look for drafts and uneven temperatures, use a thermal camera if you have access to one, compare your heating costs over time, look for moisture or condensation, and consult a qualified expert for older homes or complex walls. A thermal camera shows surface temperature, so cold stripes along stud lines or at corners show where heat is still escaping. Take readings on a cold day, when the difference between inside and outside is large.
Moisture, condensation and why vapour control matters
Everyday living adds water vapour to indoor air through cooking, showering and breathing. Warm air holds more water vapour than cold air. If that moist air reaches a surface colder than its dew point, the vapour turns back into liquid water. That is condensation, and it can happen on the surface of a wall or inside it. Hidden condensation inside a wall is called interstitial condensation.
Insulation changes where the cold surface sits. When you add insulation on the warm side of a wall, the structural wall behind it gets colder, so moisture that reaches it is more likely to condense. For this reason, Approved Document L says that for internal insulation you should assess condensation and moisture risk under Part C, normally using BS 5250 and BS EN ISO 13788. It adds that this will usually need a vapour control layer and damp protection of components, and it points to BRE guidance, BR 262.
Why does adding insulation to the inside of a solid wall raise the condensation risk in the old wall? (2 marks)
The insulation keeps heat in the room, so the old wall behind it becomes colder. If warm, moist indoor air reaches that colder surface, the water vapour can cool below its dew point and condense.
Pros and cons of drill and fill
| Advantages | Disadvantages |
|---|---|
| No need to strip the walls, so less mess and shorter time | Holes must be patched and repainted |
| Can fill around pipes and cables that a board system would have to work around | You cannot see inside, so hidden voids are possible |
| Cuts heat loss through convection and conduction in the cavity | Does not suit solid walls, damp walls or walls with unknown wiring |
| Can reduce draughts and some outside noise | Needs a skilled installer for good results |
Neither list is complete, and the balance depends on the house. Insulating the walls is only one step, and once your home loses less heat, other measures such as solar panels work harder. Our guides on the pros and cons of solar energy and on how solar energy is used show the next step.
Frequently asked questions about insulating a wall without removing drywall
Can you insulate a wall without removing the plasterboard?
Often yes, if the wall is hollow. Installers drill small holes, blow or inject insulation into the cavity or stud bays, then patch the holes. Solid walls, damp walls or walls with unknown wiring are not suitable. Get an inspection before deciding.
What is the drill-and-fill method?
Drill and fill means drilling small access holes in a wall, filling the hollow space with loose or foam insulation, then sealing and finishing the holes. It adds insulation to an existing wall without stripping the plasterboard or plaster.
What insulation can be blown into walls?
Common choices are blown cellulose (recycled paper fibre), blown glass or mineral fibre, and injected foam. Each flows or expands to fill the cavity. The installer chooses one depending on the wall construction and the manufacturer's instructions.
What U-value should a renovated wall reach in England?
Approved Document L Volume 1 (2021 edition incorporating 2023 amendments), Table 4.3, gives an improved U-value of 0.30 W/(m²·K) for walls with internal or external insulation and 0.55 for cavity insulation. A lesser standard may apply if the target is not feasible.
Do I need Building Regulations approval to insulate walls?
Renovating a thermal element, including adding cavity wall insulation or dry-lining, falls under Approved Document L. Rules vary, so ask your local building control or use an installer who handles compliance. Wales, Scotland and Northern Ireland have separate rules.
What is a thermal bridge?
A thermal bridge is a part of a building with significantly higher heat transfer than its surroundings, such as timber studs, gaps in insulation or more conductive materials. Heat takes the shortcut around the insulation, so it loses effectiveness there.
Can insulating walls cause damp or mould?
It can, if done badly. Insulating a damp wall, leaving gaps or blocking ventilation can lead to condensation. Fix existing damp first, keep ventilation open and follow Part C guidance, including vapour control where internal insulation is used.
Is insulated plasterboard better than drill and fill?
Neither is better for every house. Insulated plasterboard suits solid walls and covers the inside surface, but takes up room space. Drill and fill suits hollow walls with minimal disruption. A survey of your wall type should decide.
What is the difference between a U-value and an R-value?
R-value measures resistance to heat flow, so higher is better. U-value measures how quickly heat flows through the whole wall, so lower is better. U is the reciprocal of the total resistance: U = 1 ÷ R.
How do I check that wall insulation has worked?
Check that every cavity is filled, look for draughts and cold spots, use a thermal camera on a cold day if possible, compare heating use over time, and look for moisture. For older or complex walls, ask a qualified expert.