Chemistry can be a fun and rewarding subject to explore through DIY projects. Here are a few ideas for chemistry-themed projects you can try at home:
- Make your own soap. Soap is a mixture of fats or oils and an alkali, such as sodium hydroxide (also known as lye). By mixing these two ingredients together and allowing them to react, you can create a substance that can be used for cleaning and personal hygiene.
- Experiment with pH. pH is a measure of the acidity or basicity of a solution. You can make your own pH indicator solution using red cabbage juice, which will change color depending on the pH of the solution it is mixed with. You can then use this solution to test the pH of various household items, such as lemon juice, vinegar, and baking soda, to see how acidic or basic they are.
- Make your own crystal garden. A crystal garden is a fun and easy project that demonstrates the process of crystallization. To make your own, mix together a solution of Epsom salt and hot water, and add a few drops of food coloring if you want to add some color. Pour the mixture into a shallow dish, and add a few pieces of charcoal or other porous materials. As the solution cools and evaporates, crystals will form on the surface of the dish and the porous materials.
- Create your own lava lamp. A lava lamp is a simple and visually appealing project that demonstrates the principles of density and buoyancy. To make your own, you’ll need a bottle, water, oil, food coloring, and Alka-Seltzer tablets. Fill the bottle about halfway with water, and add a few drops of food coloring. Slowly pour in some oil, being careful not to mix the two liquids. When you’re ready to start the “lava” action, drop an Alka-Seltzer tablet into the bottle, and watch as the tablet reacts with the water, causing the oil to rise and fall in the bottle.
- Conduct your own kitchen chemistry experiments. There are many chemistry-themed experiments you can do using common household items. For example, you can mix together baking soda and vinegar to create a chemical reaction that releases carbon dioxide gas. You can also try making your own butter by shaking heavy cream in a jar, or creating your own rock candy by dissolving sugar in water and allowing it to crystallize on a string.
These are just a few examples of the many fun and educational chemistry projects you can try at home. With a little creativity and some basic supplies, you can explore the exciting world of chemistry and have a blast doing it!
Chemistry behind tie dye
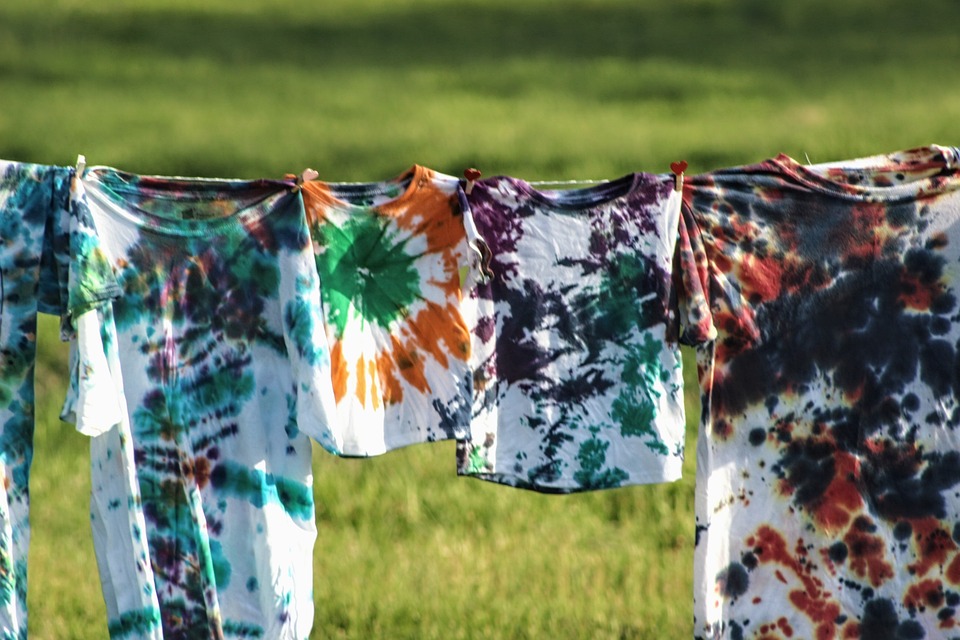
Tie dye is a popular craft that involves creating patterns and designs on fabric by tying it tightly and then dyeing it. The resulting patterns are often vibrant and eye-catching, and tie dye has a long history dating back to ancient civilizations. But what is the chemistry behind tie dye, and how does it work?
The first step in tie dye is to prepare the fabric for dyeing. This typically involves washing and drying the fabric to remove any dirt or oils that may interfere with the dye’s ability to penetrate the fibers. Next, the fabric is tied tightly in a variety of patterns using rubber bands, string, or other materials. The tighter the fabric is tied, the more defined the resulting patterns will be.
The next step is to apply the dye to the fabric. There are many different types of dyes that can be used for tie dye, including natural dyes made from plants and synthetic dyes made from chemicals. Synthetic dyes are often preferred because they are more colorfast and have a wider range of colors available.
In order to apply the dye, the cloth is first immersed in a dye solution and then let to sit for a certain amount of time before the dye is applied. The kind of dye that is utilized and the level of color saturation that is sought after are two factors that determine how long the fabric is allowed to sit before being dyed. A process known as dye diffusion will take place, during which the dye will begin to permeate the fibers of the cloth and will eventually combine with the fibers.
The passage of dye molecules through the cloth is an essential part of the chemical process known as dye diffusion. When the dye is applied to the fabric, the opposing charges of the dye molecules and the fibers of the fabric cause the dye molecules to be drawn to the fibers of the cloth. The dye molecules will then flow through the cloth, and eventually, through a process called ionic bonding, they will attach themselves to the fibers. This happens because the negatively charged ions on the surface of the fabric fibers attract the positively charged ions that are contained within the dye molecule.
Taking off the ties and rinsing the fabric is the last stage in the process of tie dying. This helps to prevent the color from fading over time and also eliminates any excess dye that may have been applied. After the material has been washed and allowed to dry, it is now clean and ready to be utilized or worn.
In a nutshell, the preparation of the fabric, the application of the dye, and the bonding of the dye to the fibers by dye diffusion are the three stages that make up the chemistry of tie dyeing. The manner in which the fabric is tied and the path that the dye takes through the fabric both contribute to the formation of the patterns and designs that are produced. The application of tie dye to fabric is not only a fun and creative method to add color and intrigue to the material, but the chemistry that behind the technique also helps to explain how it operates.
Chemistry behind slime
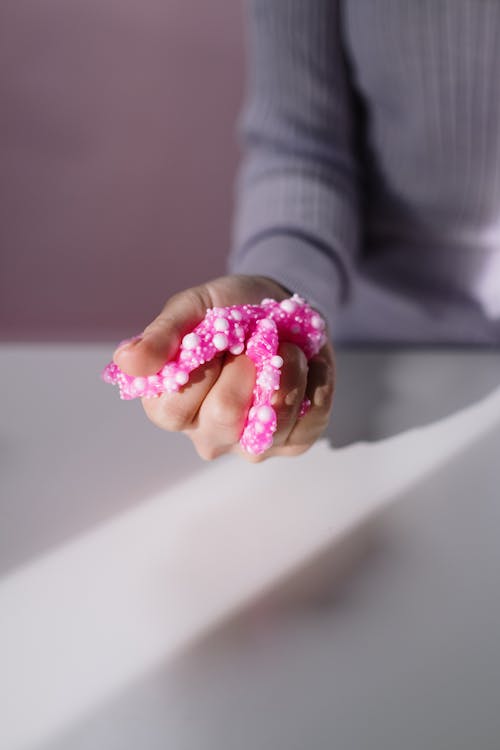
Slime is a popular toy that is made by mixing together a few simple ingredients to create a viscous, stretchy substance. The chemistry behind slime involves the use of polymers, which are long chains of molecules that can be stretched and manipulated.
One common ingredient in slime is borax, which is a type of salt that is made up of boron, oxygen, and sodium atoms. When borax is mixed with water, it forms a solution that can be used to link together the long chains of molecules found in polyvinyl acetate (PVA) glue. PVA glue is a common ingredient in slime because it is a type of polymer that is made up of repeating units of vinyl acetate.
When borax and PVA glue are mixed together, the borax solution helps to link the long chains of molecules in the glue together, forming a stretchy, viscous substance. The resulting slime is a non-Newtonian fluid, which means that it behaves differently than other fluids when it is subjected to stress or strain. When you stretch or pull on slime, it will elongate and become thinner, but when you let go, it will spring back to its original shape.
Slime can be made with more than just borax and PVA glue. It can also be made with cornstarch, liquid starch, or saline solution. With these ingredients, you can make different kinds of slime with different qualities, like slime that is more or less stretchy or more or less sticky.
In general, the chemistry of slime is based on polymers and the properties of fluids that are not Newtonian. By mixing a few simple things together, you can make something fun and interesting that is great for playing with or relieving stress.


