Introduction:
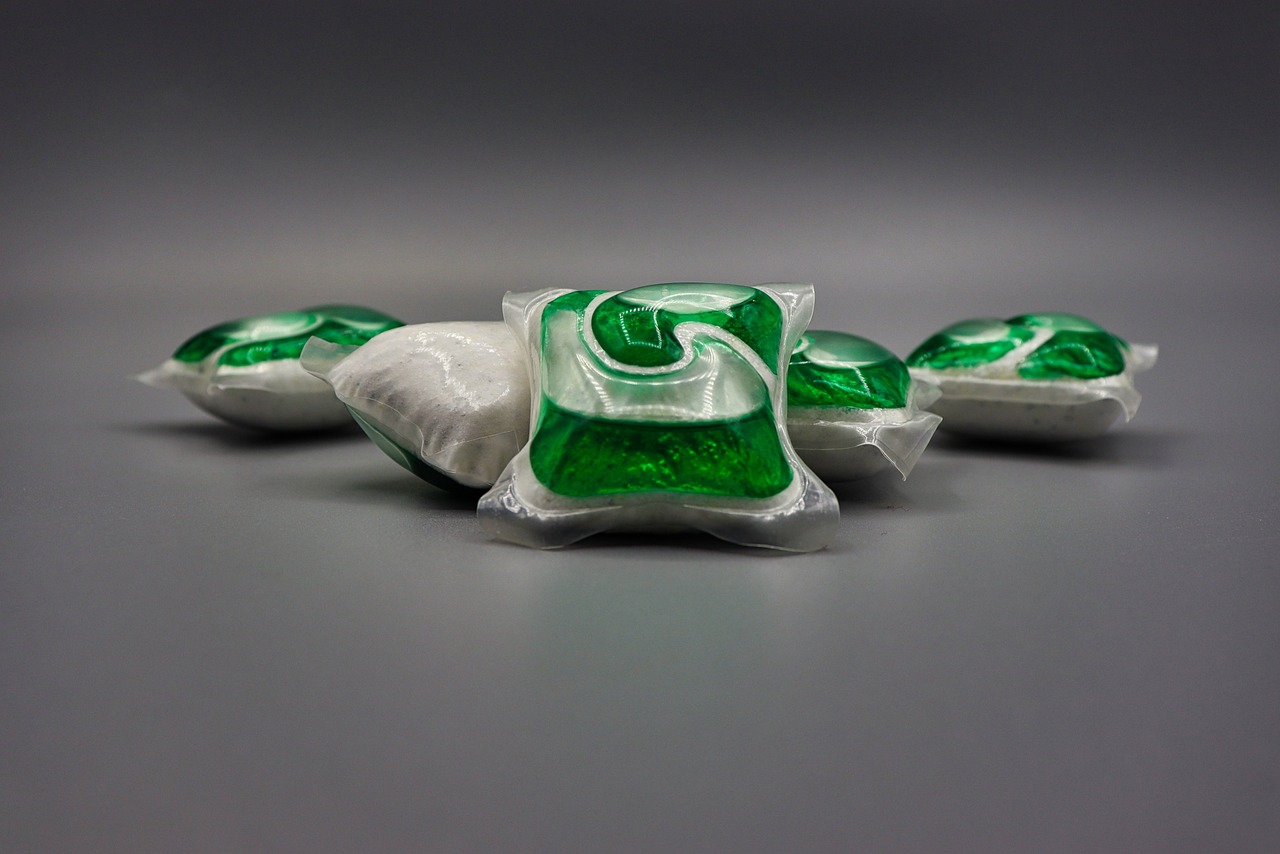
In the fast-paced lives of busy housewives, finding efficient solutions for daily chores is key. Dishwasher pods have emerged as a game-changer, simplifying the dishwashing process and ensuring sparkling clean results. If you’re a housewife looking to streamline your routine, this comprehensive guide will walk you through the benefits of dishwasher pods and provide step-by-step instructions tailored to your needs.
The Benefits of Dishwasher Pods for Housewives:
Dishwasher pods offer a range of benefits perfectly suited to the lifestyle of busy housewives:
1. **Convenience**: Say goodbye to measuring cups and guesswork. Dishwasher pods come pre-measured, allowing you to simply pop one into the dishwasher for hassle-free dishwashing.
2. **Efficiency**: The precise detergent amount in dishwasher pods ensures optimal cleaning without excess residue, saving you time and effort.
3. **Reduced Filming**: Enjoy spotless dishes as dishwasher pods are proven to reduce filming, leaving your utensils gleaming.
4. **Ease of Storage**: Individual packaging makes dishwasher pods easy to store, keeping them fresh until use, accommodating your busy schedule.
5. **Versatility**: Dishwasher pods are compatible with various dishwasher models, providing a versatile and convenient option for any household.
Using Dishwasher Pods: A Step-by-Step Guide for Housewives:
**Step 1: Loading the Dishwasher**
Efficient loading is crucial for optimal cleaning results. Follow these guidelines:
– *Top Rack*: Place cups, glasses, bowls, and plates facing the center and angled towards spray jets for effective cleaning and drying.
– *Lower Rack*: Load larger items like bowls, plates, and cookware following the same process for optimal results.
– *Utensil Holder*: Arrange utensils for optimal water flow, ensuring thorough cleaning.
**Step 2: Placing the Dishwasher Pod**
Once loaded, it’s time to insert the dishwasher pod:
– *Main Detergent Compartment*: Refer to your dishwasher’s manual and place one pod in the main detergent compartment. Dry hands prevent the pod from sticking.
– *Close the Lid*: Ensure the lid is closed securely to keep the pod in place during the wash cycle.
**Step 3: Adding Rinse Aid**
Enhance cleaning and drying with rinse aid:
– *Check for Rinse Aid Additive*: Some pods include rinse aid; otherwise, add it to the designated compartment following your dishwasher’s manual.
– *Maintain Adequate Rinse Aid Level*: Regularly check and refill to ensure faster drying and prevent spots.
**Step 4: Selecting Cycle Settings and Starting the Cycle**
With dishes loaded and preparations complete, start the dishwasher:
– *Choose the Appropriate Cycle*: Select a cycle based on your needs (normal, heavy-duty, eco-friendly) and refer to your dishwasher’s manual for guidance.
– *Select Additional Options*: Choose options like sanitize or extra dry based on your preferences.
– *Press Start*: Initiate the dishwasher cycle, sit back, and let the dishwasher pod work its magic.
Common Questions and Answers for Housewives:
– *Q: Should dishwasher pods be placed in the dispenser?*
A: Refer to your dishwasher’s manual; in most cases, they go in the main detergent compartment.
– *Q: Why do dishwasher pods get stuck in the dispenser?*
A: Ensure a clean dispenser and dry hands to prevent sticking.
– *Q: Can dishwasher pods be placed in the bottom of the dishwasher?*
A: It’s recommended to place them in the main detergent compartment for optimal cleaning.
– *Q: What is the best way to use dishwasher pods during short cycles?*
A: Always place them in the main detergent compartment for optimal results.
Conclusion:
Effortless dishwashing is within reach for busy housewives with the strategic use of dishwasher pods. By following this tailored guide, you can optimize your dishwashing routine, achieve excellent results, and enjoy sparkling clean dishes with minimal effort. Don’t forget to consult your dishwasher’s manual for specific instructions, ensuring a seamless and efficient experience. Happy dishwashing!


